
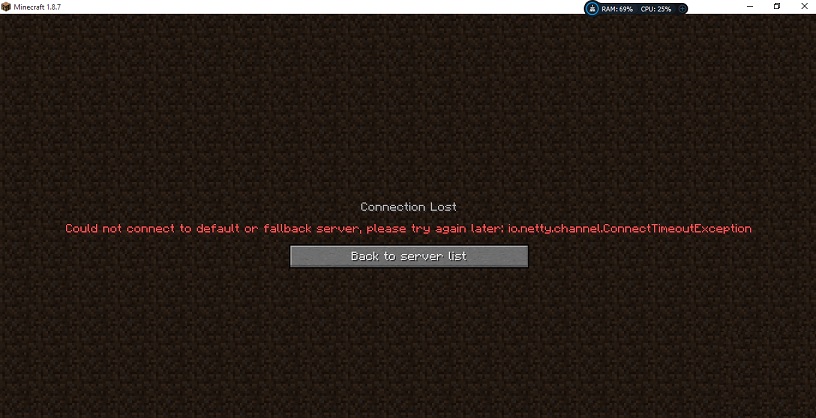
Minecraft is a sandbox game that was designed by Mojang Studios. The game was released in 2011 and instantly became popular in the online gaming community. It has one of the largest player counts with a giant number of 91 million players logging in monthly. However, quite recently a lot of reports have been coming in of users encountering a common error. It says, “io.netty.channel.AbstractChannel$AnnotatedConnectException: Connection refused: no further information“. This error occurs for some users when they try to connect to a server. This error is not limited to a single server and persists across all of them.
What Causes the Io.Netty.Channel.AbstractChannel$AnnotatedConnectException Error?
After receiving numerous reports from multiple users, we investigated the issue and devised a set of solutions. These solutions solved the problem for most of the users. Also, we looked into the reasons due to which the io.netty.channel.AbstractChannel$AnnotatedConnectException error is triggered and listed them below. For that:
1. IP issue: In some cases, the problem is caused due to the wrong IP address or the port listed while trying to connect to a server. The IP address, as well as the correct port, is used to transmit your connection to the server and connection is secured once the server approves. Unless you are using a static IP address, that is quite rare, the IP address assigned to you by the ISP shifts from time to time and varied users might be allocated the same IP address. Therefore, the IP address needs to be edited from time to time.
2. Firewall: Also, the Windows Firewall that you are using might be blocking your connection to the server. Both the Java files and the game directory are to be added to the exclusion list of Windows Firewall for the game to connect to the server properly.
3. Incompatible Software: There is a list of software that is not compatible with Minecraft and cause issues if they are installed on the computer on which you are trying to connect to the server. Minecraft has an official list of software that is not compatible with the game and causes conflicts.
3 Ways to Fix Io.Netty.Channel.AbstractChannel$AnnotatedConnectException: Connection Refused: No Further Information Error on Minecraft
Method 1: Reset Router
Whenever the internet router is reset the IP address that is provided by the ISP is changed unless you are using a static IP address. Therefore, in this step, we will be reinitializing the internet settings and the DNS cache by completely power cycling the Internet Router. For that:
Step 1: At first, Disconnect the power from the Internet Router.
Step 2: Now, wait for 5 minutes and reconnect the power.
Step 3: When the internet access is granted try to connect to the server and check to see if the io.netty.channel.AbstractChannel$AnnotatedConnectException: Connection refused: no further information issue persists.
Also Read:
- A Problem Has Occurred in BitDefender Threat Scanner
- Unable to initialize Steam API
- Downloading Do Not Turn off Target
- NVIDIA Display Settings are Not Available
Method 2: Add Exception in Firewall
The Windows Firewall that you are using might be blocking your connection to the server. Therefore, in this step, we will be adding an exception in the Firewall for some executables in the Minecraft folder that need internet access. For that:
Step 1: At first, click on the Start menu. Then select the Settings icon.
Step 2: In the Settings, click on the “Updates & Security” option.
Step 3: Now, select the “Windows Security” from the left pane. And select the “Firewall & Network Protection” option.
Step 4: Scroll down; you will see the option “Allow an App through Firewall” and select it.
Step 5: Then, click on “Change Settings” and select “Yes” on the warning prompt.
Step 6: Select the “Allow another app” option from the various options; you will see “Browse“. Click on that.
Step 7: Navigate to the game installation directory. Then select the game and the launcher executable.
Step 8: Now repeat the above process. And this time navigates to the directory where you have the Minecraft servers installed.
Step 9: Open the “Maxwell” folder that you see followed by the “Minecraft Server” folder.
Step 10: Now allow both the Java executables located inside the folder in the same way. Repeat the process again.
Step 11: Now instead of clicking “Allow another app” after selecting the “change” option simply scroll down the list of apps available and allow all the “Java Platform SE Binary” options through both the “Private” and “Public” networks.
Step 12: You see the Minecraft launcher, open it, and try to connect to the server. Check to see if the io.netty.channel.AbstractChannel$AnnotatedConnectException: Connection refused: no further information error persists.
Method 3: Add the IP Address and Port
If the IP address that you are using right now is not an unvarying one. It will tend to change almost every day or every time the Internet Connection is reset. Therefore, in this step, we are going to be checking the IP address and the correct port for the game and add it to the Minecraft Launcher. For that:
Step 1: At first, click on the search bar on the Windows toolbar. Then type in “Command Prompt“.
Step 2: Then, right-click on the icon that you see. And select the option “Run as Administrator“.
Step 3: After that, type “ipconfig“. Write down the “IPV4Address” that will emerge on the screen.
Step 4: Also, Navigate to the “Minecraft Servers folder>Maxwell (some random numbers)> MinecraftServer“. And open the “Server Properties” text document.
Step 5: Jot down the “Server Port” that you will see listed there. In our case, it was “25565” it should be similar in most cases; however, in some, it is not.
Step 6: Now open up Minecraft. Next, navigate to the “Play Multiplayer” option.
Step 7: Select the server which you want to join by clicking on it. Now, select “Edit” from the below options.
Step 8: The server name can be according to your preference, but the “Address” needs to be the IPV4 address that we noted and the port number, for example, “XXX.XXX.X.X:25565” the “25565” is the port number that differs accordingly.
Step 9: Click on “Done” and click on “Refresh” and check to see if the io.netty.channel.AbstractChannel$AnnotatedConnectException: Connection refused: no further information issue persists.
Read More:
Conclusion
In conclusion, some applications are generally incompatible with some aspects of Minecraft and cause issues with it. If these are installed on the computer on which the server is running from or on your computer you will continue to face issues with the game. I hope this guide proves useful to you.


