
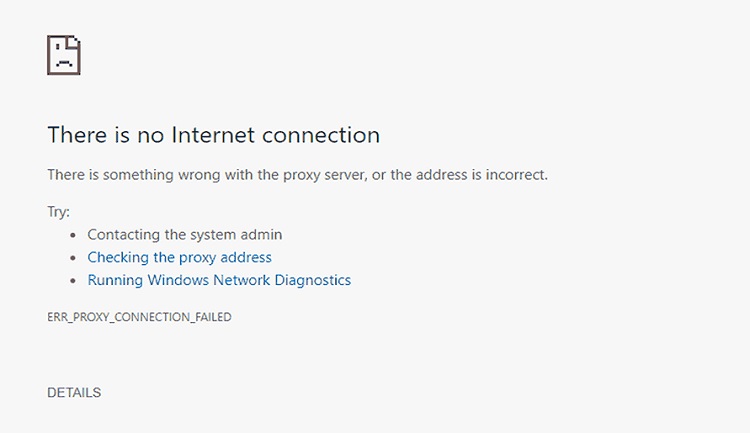
Many times when you visit your Chrome, you may come up with the “ERR_PROXY_CONNECTION_FAILED error. The error “ERR_PROXY_CONNECTION_FAILED” is browser-based whenever there is a problem with proxy servers.
Proxy server acts as a bridge between your home network or IP with the online services and external sites. People generally use proxy services to keep their identity anonymous and do not want to disclose their browsing-related information.
Instead of creating a direct link between your internet and the websites, proxy servers establish a connection through different and various services. Therefore, it does not reveal its users’ IP addresses and another browsing related history.
When the IP /proxy is misconfigured or crashed during some system configuration processes, the error “ERR_PROXY_CONNECTION_FAILED” occurs. The error also occurs when the computer or Chrome is disturbed by any malware or the recent change in network settings.
When some malware for advisor gets control over your computer, it changes some browser settings, which removes your accessibility of some sites, and the error of “ERR_PROXY_CONNECTION_FAILED” occurs.
Read Also:
This issue is not restricted, can be caused in any Windows OS version, and according to the statistics conducted by windows expert, this error is mostly faced by Google Chrome users.
Navigating the online world requires seamless connections, and browsers play an essential role in this experience. However, sometimes, users encounter hiccups, with the ERR_PROXY_CONNECTION_FAILED error in Google Chrome being one such hurdle.
In this article, we’ll demystify what this error means, explore its potential causes, and provide you with a step-by-step guide on how to reset proxy settings.
What does ERR_PROXY_CONNECTION_FAILED Mean?
At its core, the ERR_PROXY_CONNECTION_FAILED error signifies that Google Chrome couldn’t connect to the internet using the current proxy settings. A proxy server acts as an intermediary between your computer and the internet.
When your browser attempts to retrieve web pages, it sends the request through a proxy server, which then fetches the data and relays it back to your computer. If there’s an issue in this relay process, Chrome will throw the aforementioned error.
Causes of ERR_PROXY_CONNECTION_FAILED Error in Google Chrome
Understanding the root causes of this error can help in effectively troubleshooting and preventing its recurrence. Here are the most common reasons:
- Misconfigured Proxy Settings: If the proxy server’s details, such as its IP address or port number, are incorrectly set up in Chrome, it will be unable to connect to the internet.
- Unreachable Proxy Server: The proxy server itself might be down or facing issues. If Chrome can’t reach the proxy server, you’ll be presented with this error.
- Network Issues: Sometimes, your local network or ISP might face disruptions, which can cause connection failures to proxy servers.
- Malware or Unwanted Software: Malicious software can alter your proxy settings without your knowledge, leading to connection errors.
- Browser Bugs: On rare occasions, a bug within Google Chrome can result in proxy-related errors.
How to Fix ERR_PROXY_CONNECTION_FAILED in Chrome
There is no need to worry. There are several ways through which you can solve this frustrating issue. So, let’s take a look at all the possible and working solutions.
Method 1 – Change Proxy settings
Changing the proxy server setting will most probably and definitely help you to fix the error of “ERR_PROXY_CONNECTION_FAILED”. Follow the steps given below to make your Chrome this error-free
Step 1: To open Google Chrome and click on the three horizontal lines icon after you go on settings. Then select the customize and control Google Chrome option.
Step 2: As soon as the Google Chrome settings panel opens, you have to scroll down at the end of the web page, search for and click on show advanced settings.
Step 3: Then, in-network, select the option of change proxy settings or open it.
Step 4: when you do so, a new window will pop up on your screen named internet properties; navigate to the connection tab and click on the LAN settings button.
Step 5: This is a crucial step for the issue solution, so you have to do it properly. You will see the next window named as the local area network (LAN) settings.
Step 6: Under the proxy server section, uncheck the checked out box next to use a proxy server for your LAN and the under automatic configuration checkmark, shown automatically detect settings. When you are done, click on, ok.
Step 7: close all the remaining Windows and disconnect your internet connection. After waiting for a few seconds, reconnect your internet connection, and see if the problem occurs or not.
Method 2 – Reset TCP/IP
Step 1: Right-click on the windows key and select command prompt (admin).
Step 2: Now write or copy-paste the commands given below and press enter after each one of them.
- netsh winsock reset
- netsh int ip reset
Step 3: In the third step, you have to type exit and enter. This will shut down the command prompt window.
Steps 4: You need to restart your system after following the three steps listed below and check whether the error “ERR_PROXY_CONNECTION_FAILED” has disappeared or not.
Method 3 – Check Proxy Settings
For changing the proxy settings, you have to go to the control panel. You can do so by clicking on the windows key and typing the control plan in the search bar. When search results are shown on your screen, select network and internet and go to the internet options.
On the following window, check the top, search for the connection tab, and select it. Click the LAN settings option at the bottom of the window; your proxy server box should be unchecked. If not, untick the box.
Now, look if the “ERR_PROXY_CONNECTION_FAILED” error is appearing on the screen or not. If still, the issue remains unsolved, don’t panic and check out the next available solution.
Method 4 – Disable Proxy Temporarily
Now to disable the proxy, press the Windows key and R together, and when a dialogue box appears on your computer screen, type Regedit. Before continuing with the further process and initiating the changes on the registry, it is highly advisable to create a backup.
You can do so by expanding the file tab and selecting the export option from there.
Now navigate to the HKEY_CURRENT_USER -> Software -> Microsoft -> Windows -> Current Version -> Internet settings path.
Delete the following values to eradicate the error “ERR_PROXY_CONNECTION_FAILED.”
- Proxy Override
- Migrate Proxy
- Proxy Enable
- Proxy Server
After doing all the above steps, reboot your system, and observe the changes.
Method 5 – Renew IP Address
To start with this process, you need to right-click on the windows key and choose command prompt (admin). After doing this, you have to enter the commands listed below inside the command prompt window that will appear on your screen. Press enter after typing each one of them.
- ipconfig /release
- ipconfig /flushdns
- ipconfig /renew
When you are done, type exit and hit the enter key to shut down the command prompt window. The error “ERR_PROXY_CONNECTION_FAILED” will disappear after you renew your IP address.
How to Reset Proxy Settings in Google Chrome
If you suspect the ERR_PROXY_CONNECTION_FAILED error is due to incorrect proxy settings, here’s a step-by-step guide on how to reset them:
- Open Google Chrome: Launch the browser on your computer.
- Navigate to Settings: Click on the three vertical dots at the top-right corner to open the menu. From there, select ‘Settings’.
- Go to Advanced Settings: Scroll down and click on ‘Advanced’ to access more detailed settings.
- Open System Settings: Under the ‘System’ section, find and click on ‘Open your computer’s proxy settings’. This will bring up the internet options on your computer.
- Access Proxy Settings: Navigate to the ‘Connections’ tab and then click on ‘LAN settings’.
- Reset Settings: In the LAN settings, uncheck the box that says ‘Use a proxy server for your LAN’. Also, ensure that the ‘Automatically detect settings’ option is checked.
- Apply & Restart: Click ‘OK’ to apply the changes, and then ‘OK’ again to close the internet options. Restart Chrome for the changes to take effect.
Read Also:
Conclusion
Well, that’s all, friends!
We tried our best and came up with all possible solutions to the ERR_PROXY_CONNECTION_FAILED error you are facing. We hope you could find the suitable and the best one that will eradicate your problem for once and for all.
The ERR_PROXY_CONNECTION_FAILED error, although frustrating, is typically straightforward to address once its cause is identified. By keeping a close eye on your proxy settings and ensuring they’re correctly configured, you can enjoy a smooth browsing experience.
Additionally, regular system checks and updates can prevent unwanted software or malware from meddling with your settings.


