
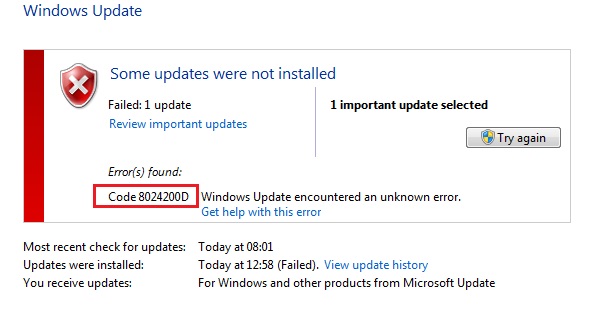
When it comes to Operating Systems, there is no beating Microsoft Windows. Applications that do not require heavy CPU usage, along with good security make it an ideal Operating System. Microsoft provides it with regular updates and bug fixes which help maintain the OS free of errors and viruses. However, sometimes there is an error, called Error 0x8024200D which occurs while updating itself.
That means there is something wrong with the update; either the file is missing, or it has been corrupted. Downloading files while updating your computer can sometimes result in this error, due to partially downloaded or other corrupt files. Nevertheless, here we discuss different ways to resolve the Error 0x8024200D for good.
2 Ways to Fix Update Failing with Error 0x8024200D
Method 1: Run SFC (System File Checker) scan
As we already know, the System File Checker can be used on multiple occasions to eliminate errors, as it locates missing and corrupt files and replaces them. To run SFC, follow the given steps.
Step 1: Click on the Start button and then type in ‘cmd’, in the search option.
Step 2: When the ‘Command Prompt’ option shows, right-click on it and select ‘Run as administrator’.
Step 3: Now in the terminal window of Command Prompt, type ‘C:\WINDOWS\system32>sfc /scannow‘ and press enter. Now your computer is being scanned for corrupt files.
Once the scan is complete, you can restart your computer and retry to update and see if the error occurs again; if it does, go to the next method.
Also Read:
- WebGL Hit A Snag
- A Problem Has Occurred in BitDefender Threat Scanner
- Unable to initialize Steam API
- Downloading Do Not Turn off Target
Method 2: Delete the Current Downloaded Update and Download the Windows Update Files Again
As discussed earlier, since the error might get displayed because of downloading the corrupt files. it is worth a try to delete the current downloaded file and redownload it. Moreover, since the method worked with some users, it is worth a shot.
Step 1: First, you will need the Troubleshooter when you restart the computer. For this, go to the Start menu and click on the Restart button while pressing the ‘Shift’ key.
Step 2: When the computer boots, you need to select Troubleshooter.
Step 3: Go to ‘Advanced’ and then select ‘Startup settings’ and then click on Restart.
Step 4: When the reboot is complete, you need to enable the ‘Safe mode’.
Step 5: To go to the downloaded files, go to the location ‘C:\Windows\SoftwareDistribution\Download‘, and then delete all files in that folder.
Step 6: Now reboot your computer into normal mode, and then go to settings and click on ‘Update and Security’.
Step 7: Click on ‘Check for updates’ to download the updates again.
Conclusion
These are the two methods to get rid of the ‘Error 0x8024200D’. If the above methods fail, try to restart your Windows Update Service. For this, you need to type ‘services.msc‘ in the Run dialogue box and stop the Windows update if it is running, and then delete all update files that have been partially downloaded. Then you can restart the Windows Update service. You can also try downloading updates manually from Microsoft Update Catalogue to eradicate the error.


