
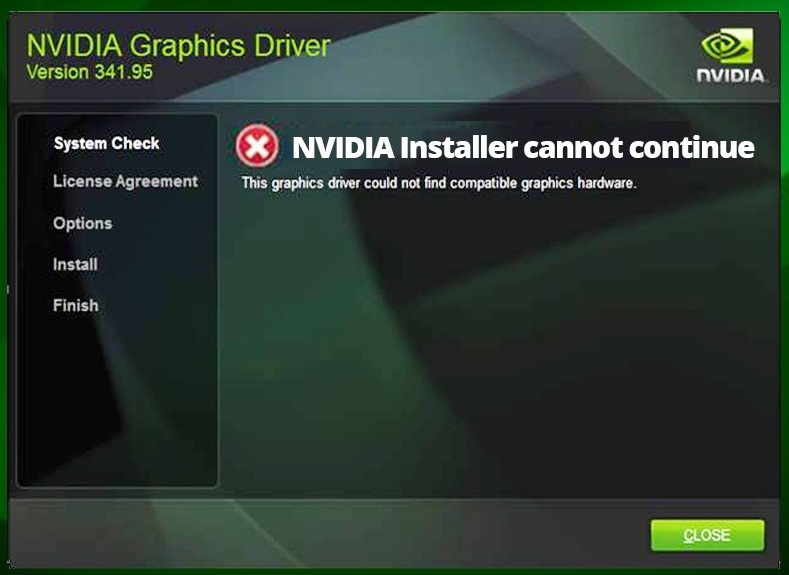
NVIDIA Installer cannot continue is an error message that prevents you from installing drivers for your Nvidia graphics card. There can be several causes responsible for this error, hence getting rid of this issue can be exasperating. The conflict between NVIDIA Installer and Windows has been around for long, but to find and eradicate the exact issue, can be troublesome. Even though the number of causes seems to be a lot, there are many ways to fix the issue as well.
5 Ways to Fix the NVIDIA Installer Cannot Continue Error
Method 1: End All NVIDIA Processes From the Task Manager
Most of the time, when a computer process is stuck, we use the Task Manager to eliminate the process for the time being. Then restart the process to check if the error was more hardware related. The same can be done for the Nvidia installer. Moreover, it is quite an easy process.
Step 1: Go to the Start menu and type ‘Task Manager‘ in the search bar.
Step 2: Or you can press ‘Ctrl + Alt + Delete’ button and select Task Manager from the given options.
Step 3: Select all Nvidia related processes and click on ‘End Task.’
Step 4:Now restart the computer to see if the NVIDIA Installer Cannot Continue has been resolved.
Method 2: Disabling Antivirus and Firewall
Antivirus software is bound to eliminate or block all functions and processes which may threaten your PC, or precisely, which they ‘consider,’ may be a threat to your PC. Hence, sometimes they block even safe installations, that may cause no damage, whatsoever. Therefore, if your PC displays ‘Nvidia installation cannot continue’ error, it can be a result of your antivirus software or firewall blocking the process. To overcome the issue, you must disable your firewall and antivirus for as long as the installation takes to complete. To disable the firewall, follow the given steps-
Step 1: Press‘Atrl + Alt + Delete’ and then press Task Manager.
Step 2: Open the ‘Processes’ window and find the processes related to antivirus.
Step 3: Select the target process and click on End Process.
Step 4: Restart your system and install Nvidia again to see if the NVIDIA Installer Cannot Continue has been resolved.
Method 3: Updating Drivers and Enable Graphic Card
This error may occur when the drivers on your PC are outdated or corrupt; hence it is always advisable to keep your drivers updated and allow the Graphic Card as they provide better driver support. To update the drivers manually, follow the given steps-
Step 1: Go to the Start menu and navigate to Control Panel and click on its icon.
Step 2: Find the Device Manager in the Control Panel and double click on it.
Step 3: Select the ‘Display Adapters’ option and expand it. You can also check for ‘Display Driver stopped responding’ error and tackle the issue there itself.
Step 4: Now, right-click on your Nvidia Graphic Card and select ‘enable.’
Step 5:When you are done with it, once again right-click on the Nvidia Graphic Card and select “Update Driver Software.”
Step 6: When the update is complete, choose the option ‘Search Automatically for updated Driver Software’.
Step 7: Then follow the given on-screen instructions after completion of which terminate the process.
Step 8: Now check if the Nvidia installer failed Windows 7 error is resolved. Also, see if the ‘Nvidia Installer cannot continue’ error has been terminated.
Step 9: Now choose ‘Update Driver Software’ but select ‘Browse my computer for driver software’ option on the screen.
Step 10: Then select ‘Let me pick from a list of device drivers on my computer.’
Step 11: Now browse to the compatible driver from your system and then click ‘next.’
Step 12: Lastly, apply the changes you made and then restart your PC to see if the NVIDIA Installer Can’t Continue issue has been resolved.
Method 4: Adding the Device ID of the Graphic Card
Another reason for the failure of the installation of Nvidia is the inability to detect the card correctly by the system. To eradicate your system of this issue, you can manually enter the device Id. To do so, follow the given steps-
Step 1: Go to the Start menu and type ‘Control Panel’ in the search bar and hit enter. Or you can directly open the Control Panel from its desktop icon.
Step 2: From the list given in the Control Panel window, search for Device Manager and click on it.
Step 3: Then find ‘Display Adapters’ and expand the option.
Step 4: Now, Right-click on your Nvidia Graphic Card and select ‘properties.’
Step 5: A ‘properties’ window appears. Select the ‘details‘ tab from it.
Step 6: Now select Hardware Ids from the drop-down menu under the property label.
Step 7: You will see the Id in the form as ‘PCI\VEN_10DE&DEV_0FD1&SUBSYS_05781828&REV_A2\4&274689E5&0&0108‘. VEN stands for Vendor-Id, and DEV stands for Device-Id.
Step 8: Go to pcidatabase.com. Enter the Vendor and Device Id where asked and click on the search button.
Step 9: You will receive the device and vendor name.
Step 10: The last step is to install and update Nvidia Driver to the latest version. The installation will not interrupt this time.
Method 5: Delete All the Redundant Files
Backups and redundancy are both data protection methods, but they are not interchangeable. Redundancy is a data protection method intended as a real-time fail-safe in case the hard drive fails. Sometimes, the removal of redundant files tends to solve the installation failure error of the system. The files that need to be deleted are given below-
- C:\Windows\System32\DriverStore\FileRepository\nvdsp.inf file
- C:\Windows\System32\DriverStore\FileRepository\nv_lh file
- C:\Windows\System32\DriverStore\FileRepository\nvoclock file
- C:\Program Files\NVIDIA Corporation\file
- C:\Program Files (x86)\NVIDIA Corporation\file
Read Next:
Conclusion
For most of the cases, the solutions provided above should be sufficient to eradicate the issue and ensure safe Nvidia installation. Nevertheless, these solutions may not work all the time. Yet there are other ways of getting rid of the problems as well. One such way can be ‘manually installing the drivers.’ To achieve this, initially uninstall the Nvidia graphics drivers and then update the driver software before rebooting the device. Another way to help in the smooth installation is by deleting everything related to Nvidia and setting it up again. Before reinstalling the drivers, make sure that you reboot your PC as many times as asked by the installation or the uninstallation wizard.
As strange as it may sound, some users also claimed that the error had been resolved by renaming Nvidia’s folder in Program Files. You can rename the folder, initially stored as NVIDIA Corporation, by right-clicking on it and selecting the rename option by visiting the ‘Program Files’ folder, and since this is a relatively simple task, it is worth giving a shot.


