
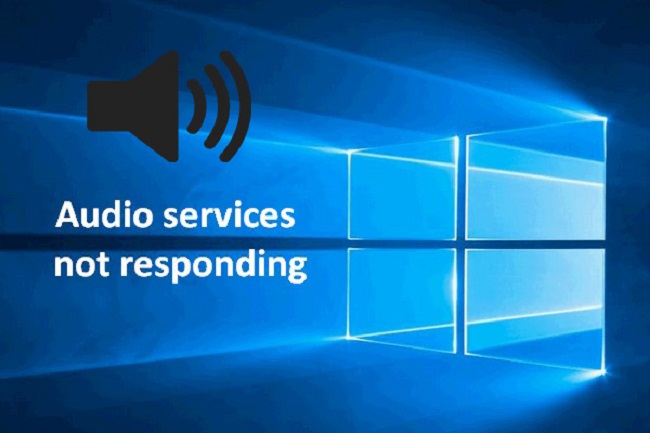
If you are a Windows user, you may be seeing The Audio Service is not running error. Do not worry, and you are not alone. This error can be happening to anyone. The message is a warning from Windows and means that the server which enables the audio to play in your laptop/ computer has stopped and is not able to start automatically.
When this problem appears, the sound icon on the taskbar, through which you usually increase or decrease the volume of your computer using a small slide bar. Displays a little x on its bottom right side. And as soon as the user clicks the icon on the taskbar, it shows “The Audio Service is not running”.
Mostly this issue appears on Windows 7 and Windows 10, one of the most successful iterations from the Windows operating system. But other operating systems by Windows do not have this problem. But one noticeable thing is that the users who face this problem are successfully able to play music using any external source connected to their computers such as headphones, speakers or earphones even though they see a red X on the Sound icon on the taskbar.
You may already have decoded, the main source of problem for this issue is Windows Audio Services or one or more of its dependencies (services that are necessary to be running to it to run) either stop working on its own for some of the other reason or it is unable to start on its own when you boot your computer up.
How to Fix The Audio Service is Not Running Error
Many people who are faced with the same problem can solve it by restarting their computer, the solution which is globally accepted for any problem. Although sometimes the technique is useful, it is not a solid solution, and you cannot restart your computer every time you face the problem. Then the good news is we bring to you the best and permanent solutions available for you to solve the issue of “The Audio Service is not running”. So, let’s figure them out with the below solutions:
Solution 1: Adjust Computer’s Volume
Many Windows users can come up with an easy and quick solution for the problem that has left others frustrated by just changing, i.e. increasing or decreasing your computer’s volume by even the slightest of margins. The users who have tried this solution are mostly successful in getting rid of it by simple, just adjusting their devices’ volume. Follow the steps mentioned below to adjust your computer’s volume
Step 1: Select the Sound icon on your taskbar, the one that has been showing the red X. as soon as you select it, the volume slider through which you can adjust the volume will appear.
Step 2: Now using that volume slider, increase, or decrease the volume of your computer. You can do so in small amounts too.
Step 3: Most probably doing so will remove the display of the small red x from the sound icon and you will not be shown “The Audio Service is not running” when you place your mouse on the icon.
Still, if the issue appears, then try using the two other options given below.
Solution 2: Changing the Log-On Settings
The last option in case both the solutions mentioned above does not work to change your login settings. To change the logon settings you have to-
Step 1: Click the Windows and R button together.
Step 2: When the dialogue box comes on your screen, type “Services.msc” in it and Enter.
Step 3: Search for the Windows audio and right-click on the services.
Step 4: Select the log on the tab on the following window. Then select the “Local System Account” instead of the account option.
Step 5: Now check the sound icon and the red X should not be there.
Solution 3: Restart the Windows Audio Service
Another useful and working solution to this problem is restarting the Windows audio services and all of its dependencies. Also making sure that they are set to automatically start when your computer turns on. The steps you need to follow are
Step 1: Press the Windows key and hold it, then press R. when a dialogue box appears, type services.msc in it.
Step 2: Locate and double click the options given below and set their startup type to automatic. If it is already done so, then change nothing.
- Windows Audio
- Windows Audio Endpoint Builder
- Multimedia Class Scheduler
Step 3: Then right-click on the services displayed below Windows Audio Endpoint Builder service Multimedia Class Scheduler service (if available) Windows Audio Service and select the Restart option in the following menu.
Step 4: The moment you enter restart, red x on the sound icon should disappear. You should no longer come face to face with the “The Audio Service is not running” issue.
Also Read:
- Windows Has Detected An IP Address Conflict
- Taskbar Showing in Fullscreen in Windows 10
- Ethernet Doesn’t Have A Valid IP Configuration
- Plugged in Not Charging
Conclusion
Well, that’s all my friends. We hope your The Audio Service is not running error is solved after using the above-mentioned solutions. You should also make sure and check that the sound works well in the “safe mode” to rule out any third party interference in the audio services. You can also try restoring the registry key from antivirus, reinstalling the sound drivers, and using a system restore or doing a clean install to solve the problem. Hopefully, we were able to provide answers to all your questions and the perfect solution to your problem.


