
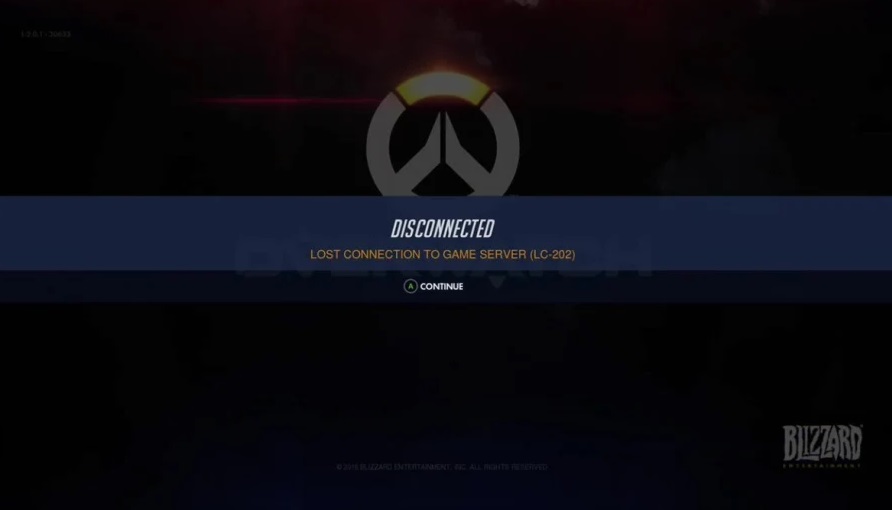
Overwatch is a team-based multiplayer first-person shooter. Blizzard Entertainment developed and published it. This game is Blizzard’s fourth major franchise and was released around 2014. Recently, many of its players have complained of an error that displays, ‘Overwatch Lost Connection to Game Server‘ in red, which is quite unexpected. This may have been caused due to a number of reasons such as Corrupt Network Drivers or DNS and IP issues. Whatsoever be the cause, here we discuss nine ways to get rid of the error and ensure a pleasant Gameplay.
9 Ways to Fix Overwatch Lost Connection to Game Server Error
Method 1: Reboot your Network
This method might work if the slow internet speed is the cause of the error, since rebooting the network might get the connection speed back to normal, and hence resolve the issue.
Step 1: Unplug your modem and/or router from power for a couple of minutes.
Step 2: Plug it back in. It will be back to normal speed once all the indicator lights blink like before.
Step 3: Since the network speed ibuttons back to normal, the game will not show the error the next time you launch it if the network speed was the issue.
Also Read:
- A Problem Has Occurred in BitDefender Threat Scanner
- Unable to initialize Steam API
- Downloading Do Not Turn off Target
- NVIDIA Display Settings are Not Available
Method 2: Update your Network Driver
As discussed above, an outdated network driver may have caused the error, so updating the network drivers may solve the issue. You can do this manually as well as automatically. To update the driver manually, you can directly go to the manufacturer’s website and search for the latest drivers for your network adapter. If you want the drivers to be updated automatically to avoid installing the wrong drivers, you may follow the given steps.
Step 1: Download and install Driver Updating Software.
Step 2: After that, launch Driver Updater Software. Then click on Scan Now. The application will scan your computer for drivers that might be creating the problem.
Step 3: You can click ‘Update‘ next to your network device, or you can select ‘Update all‘ to automatically download and install all missing or outdated drivers from your computer.
Method 3: Run Blizzard’s Battle.net Looking-Glass
Since the error pertains to network connection, Blizzard’s Battle.net Looking-Glass, which is a network diagnostic tool, might come in handy. You can use this tool to test your server connection.
Step 1: Go to the official site for Looking Glass.
Step 2: Select the region, the service (Overwatch in this case), and the tests and then hit run.
Step 3: You will get the test results that you can then post on the official forum of Overwatch and see if you get a fix for it.
If you do not find any suitable solution, you can try the next method.
Method 4: Reset Winsock data
The Windows Sockets API (Winsock) is a technical specification. It gives us knowledge about “how Windows network software should access network services.” Since it deals with network related issues, it is advisable to reset Winsock data and see if this helps to eliminate the error. To do so, follow the given steps.
Step 1: Press the Windows key and then type cmd. When the command prompt appears before you on the screen, right-click on it and run it as administrator.
Step 2: Type ‘netsh Winsock reset‘ and hit Enter. This will reset the Winsock data.
Step 3: Now restart your computer and launch Overwatch to see if you encounter the Overwatch Lost Connection to Game Server error again. If so, go for the next method.
Method 5: Change the DNS Server
A DNS server contains a database of public IPs along with their associated hostnames and serves to translate those names to IP addresses as requested. Changing your DNS to Google public DNS to see if this resolves the error.
Step 1: Open the Control Panel by typing control in the Run dialogue box and pressing enter.
Step 2: View it by category and select ‘View network status and task.’
Step 3: Now select ‘Change adapter settings.’
Step 4: To change your DNS server, right-click on your current network, and select properties.
Step 5: Now double click on IPv4 (Internet Protocol version 4) to view its properties.
Step 6: In the general tab, select the options ‘Obtain an IP address automatically’ and ‘Use the following DNS server addresses.’
Step 7: In the preferred DNS, enter 8.8.8.8 and in the alternate DNS enter 8.8.4.4. Both of these are Google Public DNS addresses.
Step 8: Save the changes and then restart your PC. Now launch Overwatch and see if the Overwatch Lost Connection to Game Server error has been resolved.
Method 6: Flush Your DNS and Renew Your IP
As discussed above, if Overwatch lost its connection to the game server, it might be due to IP and/or DNS issues. By flushing your DNS and renewing your IP, the error might be resolved. To flush the DNS-
Step 1: Open the run dialogue box and type cmd and press Ctrl + Shift + Enter. The command windows will appear on the screen, running as administrator.
Step 2: Now type ‘ipconfig/flushdns’ and hit Enter. Your DNS will be flushed.
To renew your IP:
Step 1: Run command prompt as administrator as done while flushing the DNS. Click on yes when it asks for permission.
Step 2: Type ‘ipconfig/release’ and hit enter. This will release your IP address.
Step 3: Now type ‘ipconfig/renew’ and hit enter. This will renew your IP address.
Step 4: Now launch Overwatch and see if the Overwatch Lost Connection to Game Server error still persists.
Method 7: Avoid Wireless Interference
If the ‘Overwatch lost connection to the game server’ error occurred when your PC was connected to a WiFi, it could have been due to wireless interference. The best way to deal with the error, in that case, is to avoid wireless interference. To do so, follow the given steps.
Step 1: You can start by moving your router to a new location and the best place being is center of your home for a better WiFi signal.
Step 2: If there are any wireless devices near your router, place them away, or shut them down. These wireless devices might be the ones interfering with the signal.
Step 3: Now launch Overwatch again to see if the error still holds. If the error occurred due to signal interference, it should have been resolved, but if not, you can move down to the next method.
Method 8: Disable the Proxy Server
A proxy server is like a gateway between you and the internet, an intermediary server separating end users from the website they browse. A proxy server can make changes to the data you send, and you would still get the desired result, but it also causes connection problems hence causing the error, which is why this method is worth a shot. To disable the proxy server, follow the given steps.
Step 1: Open the Run dialogue box and type ‘inetcpl.cpl‘ and press enter. Internet properties windows appear.
Step 2: Go to the Connections tab and select ‘Never dial a connection‘ then go to the LAN settings.
Step 3: There you will find an option ‘Use a proxy server for your LAN’; uncheck it. If it is unchecked, check the box with the option saying ‘Automatically delete settings.’ Then click, OK.
Step 4: Disable any VPN or other third-party proxy servers if you are using any.
Launch Overwatch and see if this method fixed the error.
Method 9: Close Bandwidth Hogging Applications
Overwatch losing connection to the server might be a result of slow internet caused due to applications like OneDrive and iCloud, which require download and upload of files. To resolve the error, you can follow the given steps.
Step 1: First, press Ctrl + Shift + Esc keys together to open Task Manager.
Step 2: Whichever processes look like are consuming a lot of bandwidth, right-click on them, and select ‘End task.’
Through this method, we have closed the Bandwidth hogging applications. Now you can launch Overwatch to see if the Overwatch Lost Connection to Game Server error has been resolved.
Read More:
- Kmode Exception Not Handled
- Discord Overlay Not Working
- NVIDIA Installer Cannot Continue
- Modern Setup Host Has Stopped Working
Conclusion
Since the methods given above cover almost all cases and causes, which might have caused the Overwatch lost connection to game server error, at least one of the methods mentioned above is sure to fix the problem and hence remove the error.
Contents
- 1 9 Ways to Fix Overwatch Lost Connection to Game Server Error
- 1.1 Method 1: Reboot your Network
- 1.2 Method 2: Update your Network Driver
- 1.3 Method 3: Run Blizzard’s Battle.net Looking-Glass
- 1.4 Method 4: Reset Winsock data
- 1.5 Method 5: Change the DNS Server
- 1.6 Method 6: Flush Your DNS and Renew Your IP
- 1.7 Method 7: Avoid Wireless Interference
- 1.8 Method 8: Disable the Proxy Server
- 1.9 Method 9: Close Bandwidth Hogging Applications
- 2 Conclusion


